Getting the right beard line up is essential. It has to be just in the proper position. That is usually entirely up to your barber but also mostly you. In retrospect, we say that if you want it right, get a barber who knows their art – simple!
However, if you are one of the men who want to do it yourself but don’t know how to line up your beard, this piece is the solution for you.
We know that men’s grooming is vital in today’s world. So, we’ve created a comprehensive guide that will teach you everything from finding your beard neckline to getting that good fade. Trim and shape your entire beard, neck, and cheek, and fade your beard to perfection.
Beard Line Up Guide
If you’ve ever seen a man with his beard line too low – it looks like a neck beard. If it’s too high, it shortens the jawline and just looks funny! Follow my guide, and don’t be either.
Here are the steps a pro follows to line up a beard neckline:
Step 1: Find Your Natural Neck Line
This is the most crucial stage, and you already know the consequences if you skip it. Finding the outline of your beard, however, is not difficult.
- If your beard begins at the base of your neck, lay your first two fingers horizontally on your Adam’s apple. You’ll find the median point of your neckline is at this position.
- Draw an imaginary line from that point to your ear to attain the proper beard neckline. Some barbers use a special barber pencil that marks the beard line, and you may use it too to get a streamlined line.
Instead of boxing the corners, make them arc to get a ‘U’ shape. You don’t want to resemble a Lego, do you?
Step 2: Prep Your Skin
Most people are unaware that their beard skin is quite sensitive. Because of that, they skip the skin prep, which harms both your skin and beard.
So, how do you prepare your skin?
Here’s how to do it:
- You start by washing with warm water and then patting your beard dry with a clean cotton towel.
- After that, use sufficient pre-shave oil before applying the shaving cream.
Translucent creams are the best to use since you can see where you pass the razor.
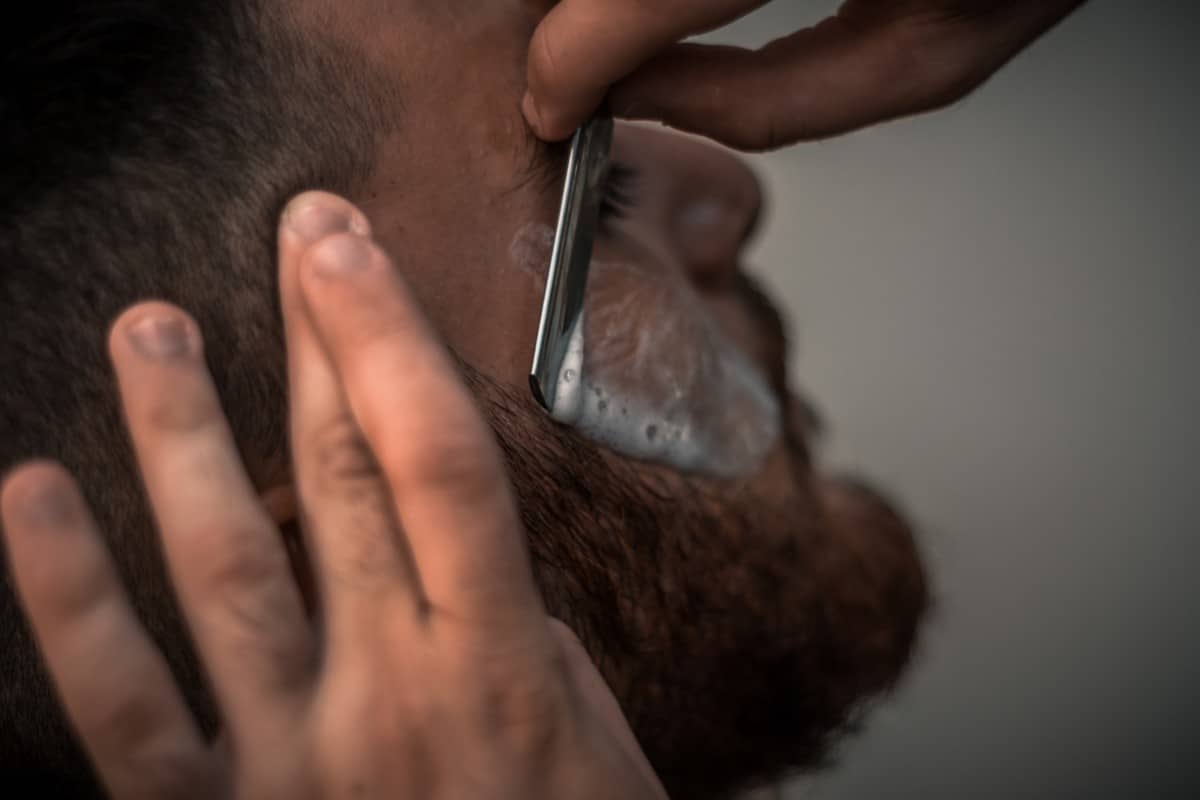
Step 3: Shave Below Your Beard Line
Remember the line we established in the first step? Here is where it comes in handy. You need to shave off all the hair below this line. But if you are not confident about the position, you can always measure using your two fingers to achieve symmetry on both sides of the beard line.
The kind of shaving tools used to shave off these strands will solely fall under the mastery of your barber. But if you do it solo, the best razor is a double-edge safety razor. This kind of razor is ideal for two main reasons: its use is elementary, and it gives a close and clean shave.
If you have a thick mane, the double-edged safety razor might become your second tool. In this case, you must trim the beard using a sharp trimmer, then follow up with the razor for a cleaner, neater shape.
- For symmetry reasons, it would be best to start shaving from the middle of Adam’s apple outwards.
- When you are done shaving, use a soothing beard balm to reduce any skin irritation caused by the razor.
Step 4: Line Up Your Cheek Lines
You are mistaken if you thought the beard neckline was all you needed for that fresh look.

Below are the steps you need to follow to get the best beard cheek lines:
Decide On The Shape You Want
Cheek lines do not only assume one ‘U’ shape as the beard neckline does. Instead, depending on preferences and the shape of your face, you may have it curved, diagonally straight, or boxed.

If you have a squared or angular face, go for the curved cheek line; opt for angular lines if you have a rounder face. That contrast creates an appealing facade.
Make Sure To Achieve Symmetry
Yet again, you need both sides of your face to look great, and ensuring symmetry is the trick. To do this, check if the lines are on the same level. Do this using a close-up mirror.
Step 5: Fade Your Beard
** Bonus Step **
A fade is a great way to make the beard appear neater, as there is no defined line where the beard ends or starts.
Here is how to fade a beard effortlessly:
Know The Adjustments On Your Trimmer
Since the trimmer is the magic tool for a perfect blend, you need to tweak its adjustments a few inches lower than your beard length and trim.
The lower you go, or the higher you go near the beard neckline or cheek line, adjust it accordingly to create a beautiful gradient.
Blend The Beard with Care
When it comes to blending, you need to ensure no harsh lines at the beginning or the end of the beard.
Ideally, there should be a beautiful gradient where the hair at the ends shares the space with the skin while it gets denser as you near the middle. That way, the beard looks neat and professionally done.
Final Thoughts
Your beard is your pride; you should keep it neat and clean. So, you need to get the best tools to ensure a clean and fresh look every time you leave the bathroom.
But suppose you lack time to give yourself a trim every once or twice a week; why not get a barber who knows what they are doing? You could even pass along this article so that they get some knowledge.
All in all, if you and any barber follow these steps, you will genuinely get a beard that looks nice with beautifully blended edges.
FAQ
Where is the best place to line up a beard?
The optimal position for lining up a beard is at a point where a line imagined between the lowest parts of both ears intersects with the Adam’s apple. For precision, position the line approximately two fingers or 1.5 inches above the Adam’s apple.
How often should you line up your beard?
For individuals growing a new beard, it is advisable to perform the first beard lineup after about 2 weeks. For those with established beards, a weekly lineup is recommended to maintain a neat appearance.
Should beard cheek line be straight or curved?
The beard cheek line should complement the shape of the wearer’s face. A straight cheek line at a steep angle is suitable for round faces to add definition, whereas a curved line softens the appearance of those with long and angular faces.
Where should I shape my beard?
Beard shaping should primarily focus on the neckline and cheek lines. Almost universally, the beard neckline should form a “U” shape starting from behind each ear at the jawbone, descending to a point above the Adam’s apple on the neck.